Components You Need
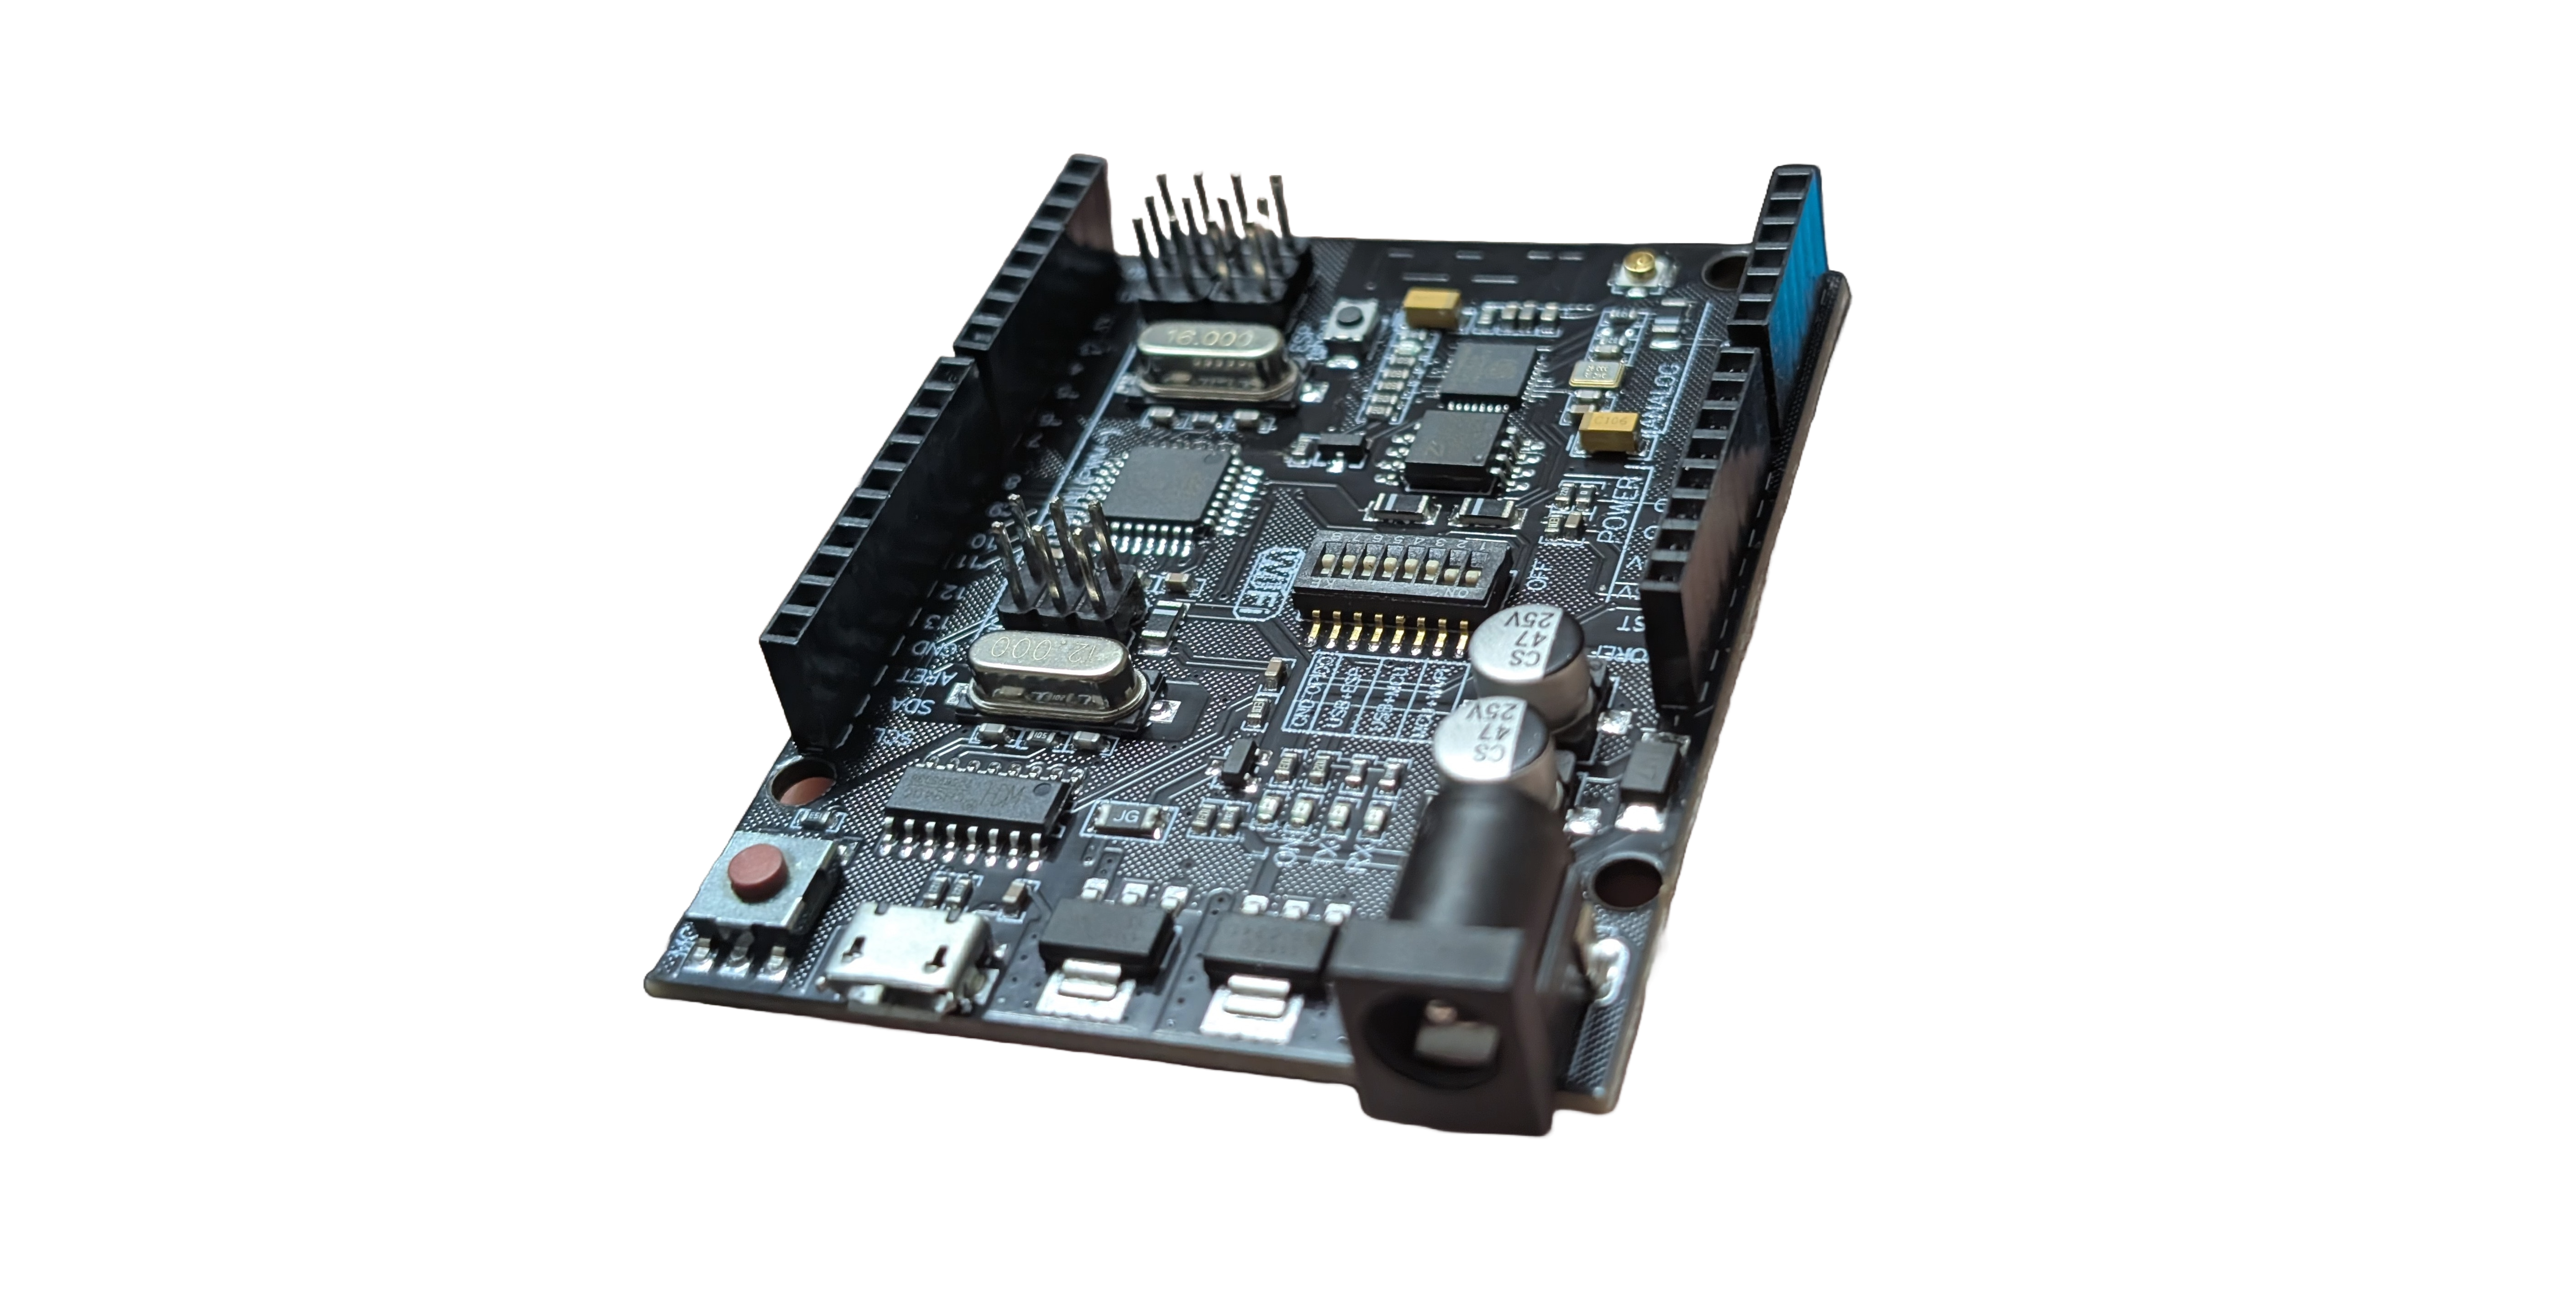
Tamra Board

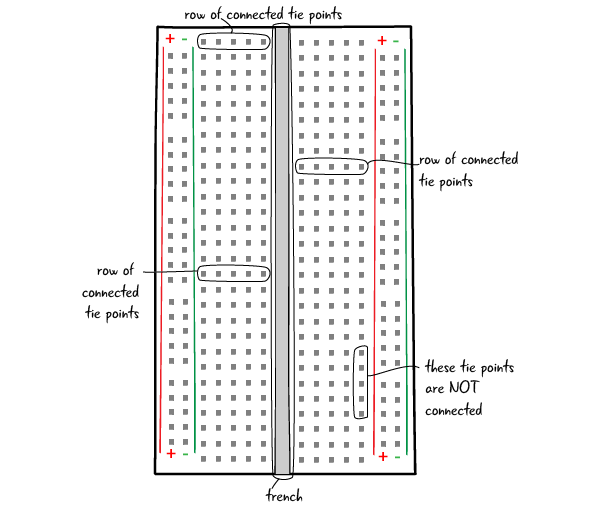
Breadboard
- A breadboard is a reusable platform for building temporary circuits without soldering. It has rows and columns of holes connected internally to hold components and make connections.
- Vertical Columns: The vertical columns in the middle are connected in groups of five. Each group shares an electrical connection, meaning components placed within the same group are connected. Rows marked A-E and F-J on either side of the middle groove are for components.
- Power Lines: The breadboard has horizontal rows for the power lines (marked with
+and-), typically used for power supply. The long rows with red (+) and black (-) markings are for power supply connections.
LEDs
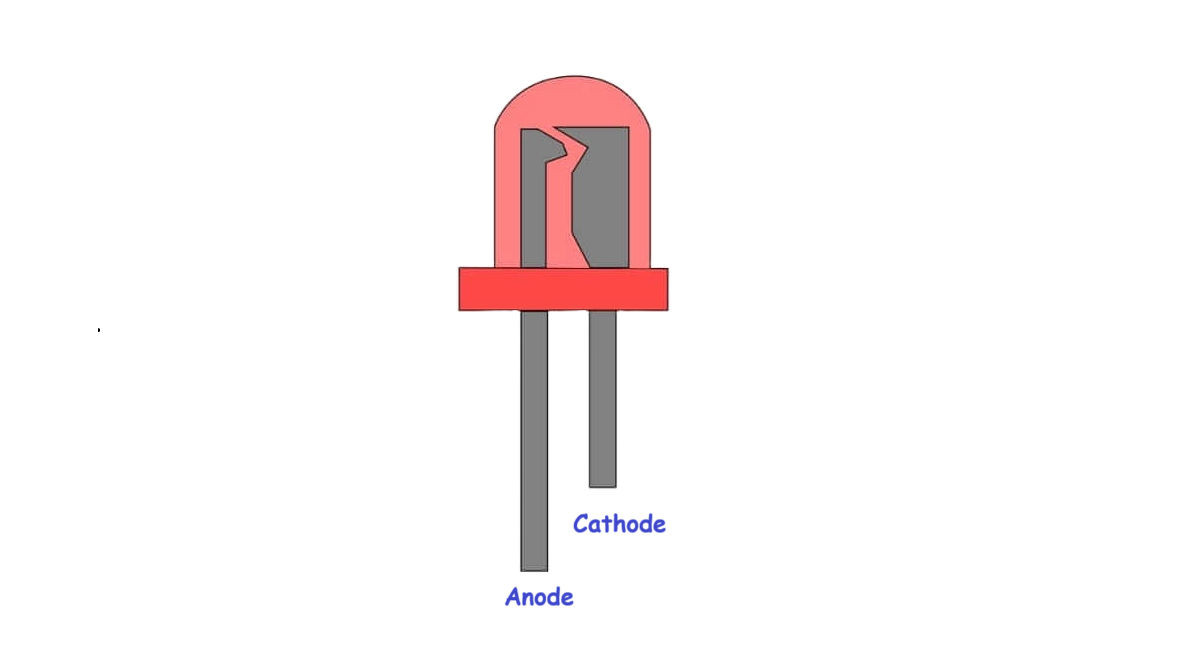
Light Emitting Diodes (LEDs) are small devices that emit light when current passes through them. Each LED has two legs:
Anode (
+): The longer leg, connected to the positive terminal.Cathode (
-): The shorter leg, connected to the ground. info
infoHow It Works:
The LED emits light when current flows from the positive terminal (anode) to the negative terminal (cathode).
Resistors
- Resistors limit the current in a circuit to prevent LEDs from burning out. Resistor values are measured in ohms (Ω), and color bands indicate their resistance value.
- Resistors are color-coded to indicate their resistance value.
- A common resistor value for LEDs is 220 ohms, ensuring the LED gets enough current without being damaged.

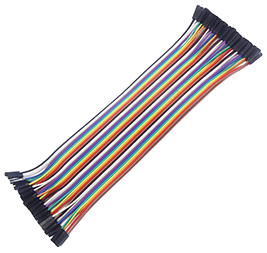
Wires
- Use jumper wires to connect components on the breadboard and link the circuit to the power supply or Tamra board.

Power Source
- Use a DC adapter or USB connection to power your circuit.

