Controlling the built-in LED
After applying the Setting up steps in the previous tutorial, you should be ready to start your first tiny project using the Tamra IoT board.
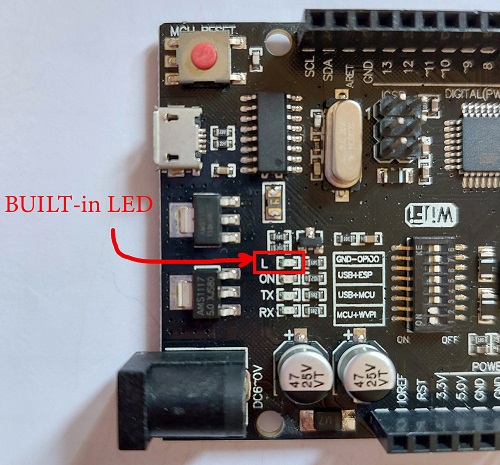
We'll start by something simple that doesn't need any more components of you than the ones you already have: the Tamra IoT board! For this tutorial, we'll control a small LED embedded in your board that you can see clearly in the following picture.
To start controlling the built-in LED in your board using the Tamra application, you need to apply some changes to your node settings. The built-in LED is the D13 port of your board, so you need to:
- Activate D13 Port
- Set D13 Port to Digital Output
- Change the name of D13 to a more respenstable name
- Change the value of D13 port to control your LED
At the end of this tutorial, you should be able to control your built-in LED remotely.
Edit node settings
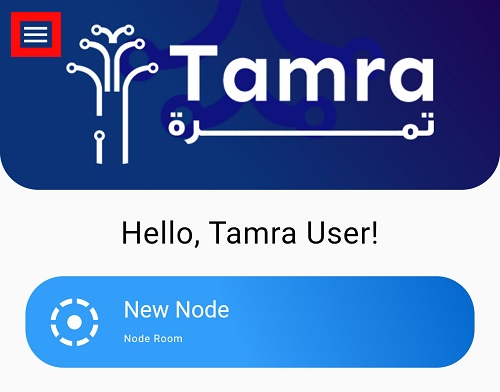
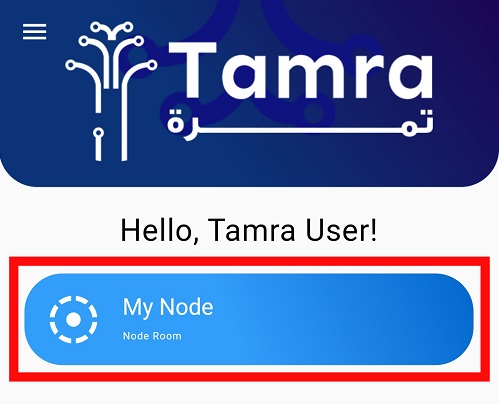
Click on the burger menu icon
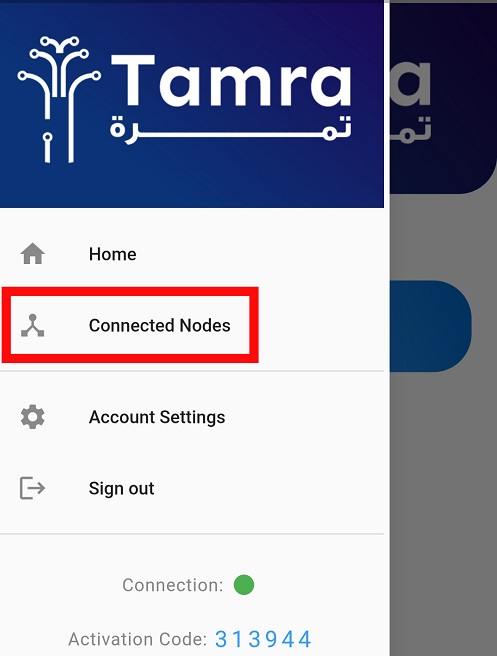
Go to Connected Nodes Section on the application
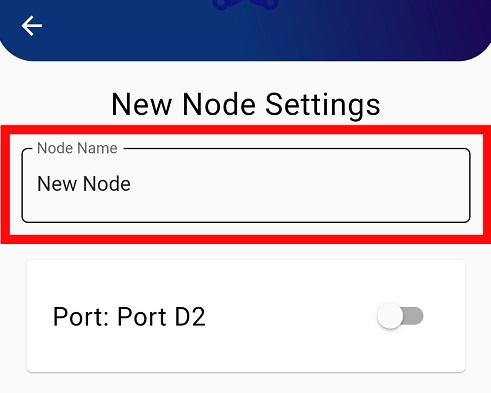
Start by clicking on the Settings icon next to the New Node.

You can edit your node name by pressing on the Node Name box and edit your Node Name to the name you want.
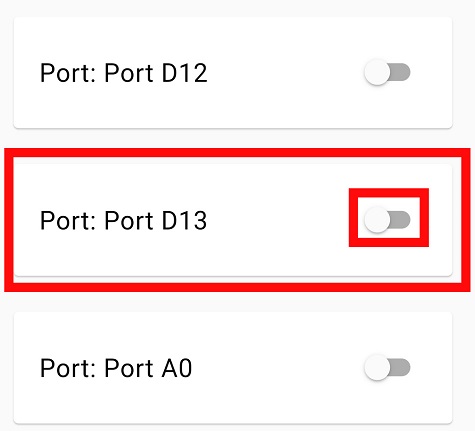
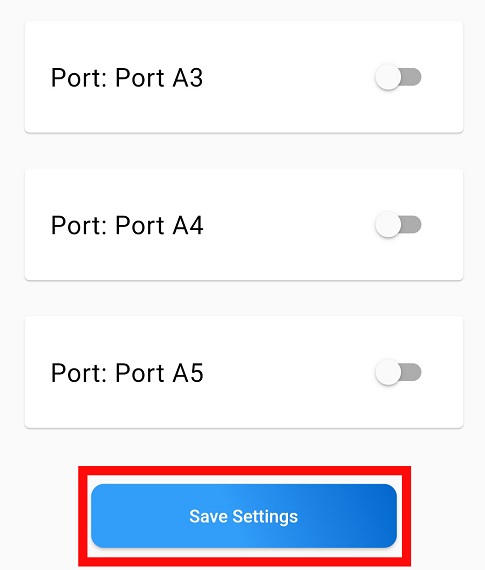
To activate D13, scroll down until you reach
Port: Port D13
And swipe the switch to the right to activate the port.
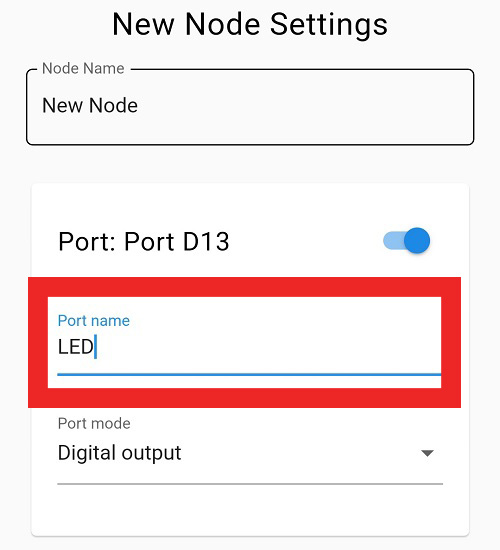
You can edit your port name to be more representable by pressing on the Port name Box and edit the port name to LED for example.
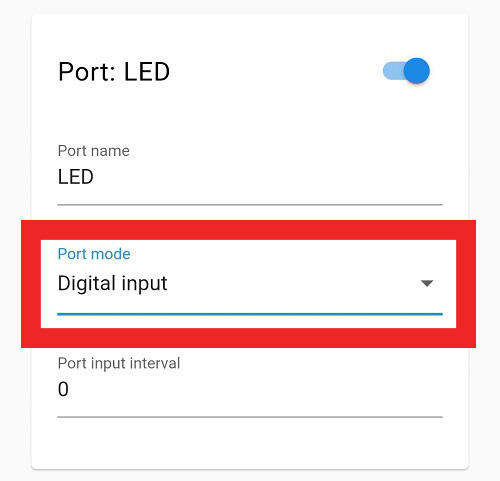
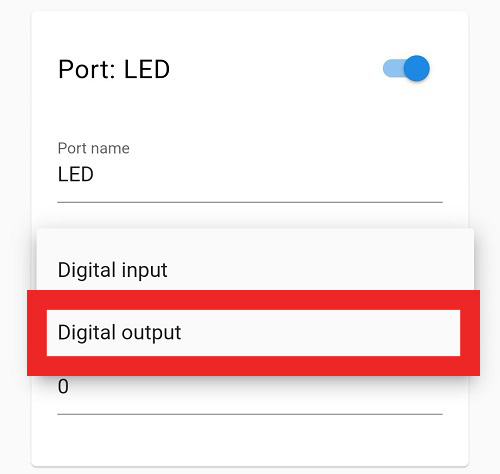
Each Port has many options, D13 for example has Digital Input and Digital Output. However, we need to turn a LED on and off so, pick the Port Mode to be Digital output.
For more node settings and when to use each one, take a look at How to edit port settings and Signal types sections.
Scroll down and press on Save Settings to save your new Settings.
After activating the built-in LED port D13 and setting it to Digital Output, you can now control your LED.
Control your LED
Go to the Home Page of the Application and press the activated Node.
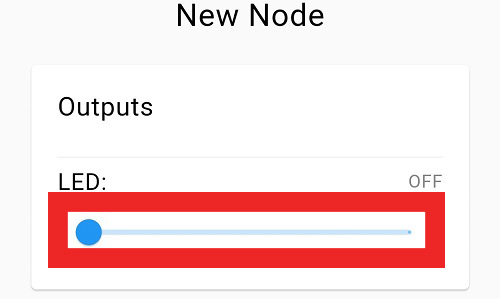
You can now see LED above a slider that you can control.
- To turn the built-in LED on, swipe right.
- To turn the built-in LED off, swipe left.
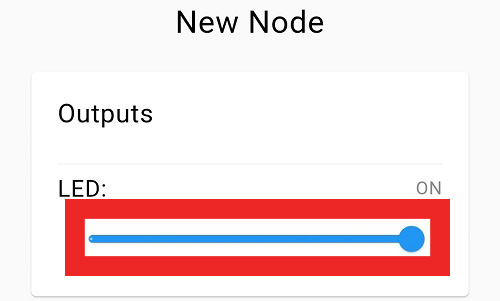
You'll notice that when you swipe the slider to the right, a Red LED on the board is turned on, and when you swipe it to the left, the Red LED is off.
Congratulations! You have just made your first IoT project successfully and now you can control the built-in LED using your mobile from anywhere, impressive right?